I am so excited to share this simple recipe with you. The sponge cake is easy – I manage to succeed on the first attempt. However the buttercream frosting is more tricky. It took me 3 attempts to get the right consistency. There are many icing recipes around and I tried a few, so far this works best for me!
Just to add a word; I am no cake expert guru and I hardly bake. The reason why I am making this is because I want to make one for my baby’s first year cake smash photoshoot. The bakers I have enquired insisted I order a 1-2 kg cake and they can’t make to the sizing that I want – 16-18 cm giant cupcake. So I started to experiment with a simple sponge cake before I go on to make a giant cupcake.
I shall start with the sponge cake recipe. This is a very simple 3 ingredient recipe from ochikeron. You can search youtube for her instructional video. Yes, you read me right. You can make a cake using 3 ingredients and it tastes so good when you take it out from the refrigerator. That’s because unlike most cakes, this one doesn’t have butter so it doesn’t harden to a rock in the fridge. The cakes you buy from cake shops often have stabilisers and emulsifiers added to preserve it and to make it soft. So the following recipe is definitely a much healthier choice because you know what you are putting in.
To make the cake, you need
- 4 medium size eggs
- 5 tbsp cake flour
- 6 tbsp granulated sugar
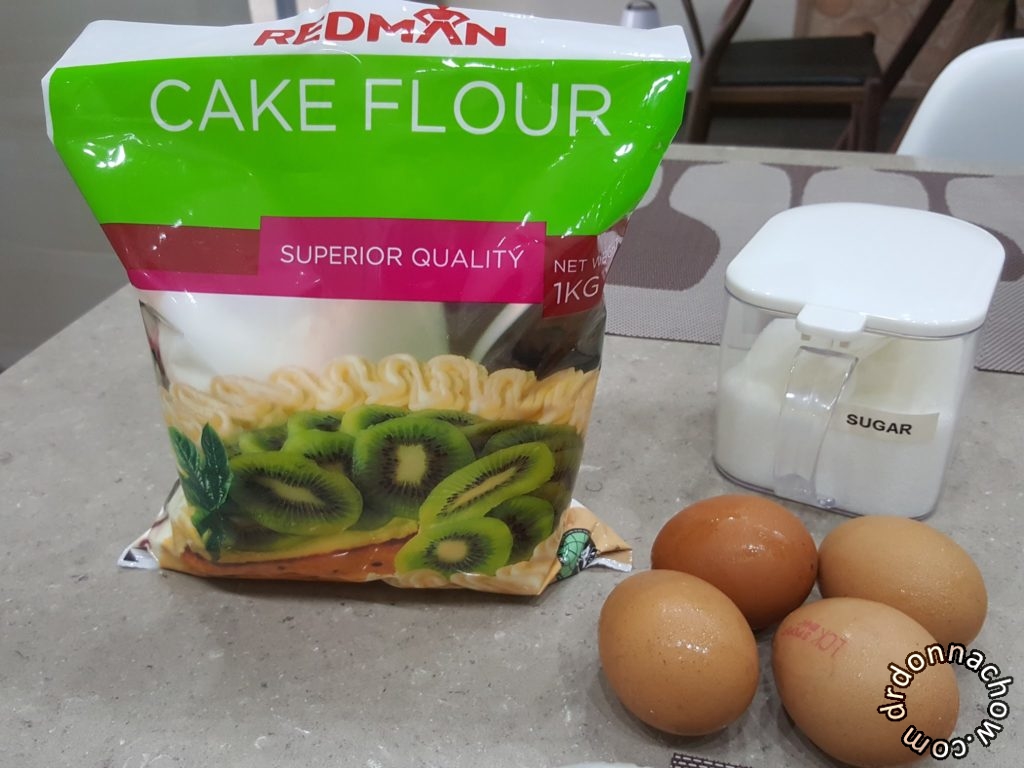
The 3 basic ingredients
Prepare 2 x 16-18 cm round baking tins with a detachable bottom before you begin. Line the tin with baking paper and slightly oil the sides. Preheat the oven to 180 degrees celsius. For added measure, I ensure the oven thermometer is in for more accuracy.
Put the eggs and sugar in a mixing bowl and beat on high for 15 minutes. Scrap the sides periodically to ensure it is well mixed.
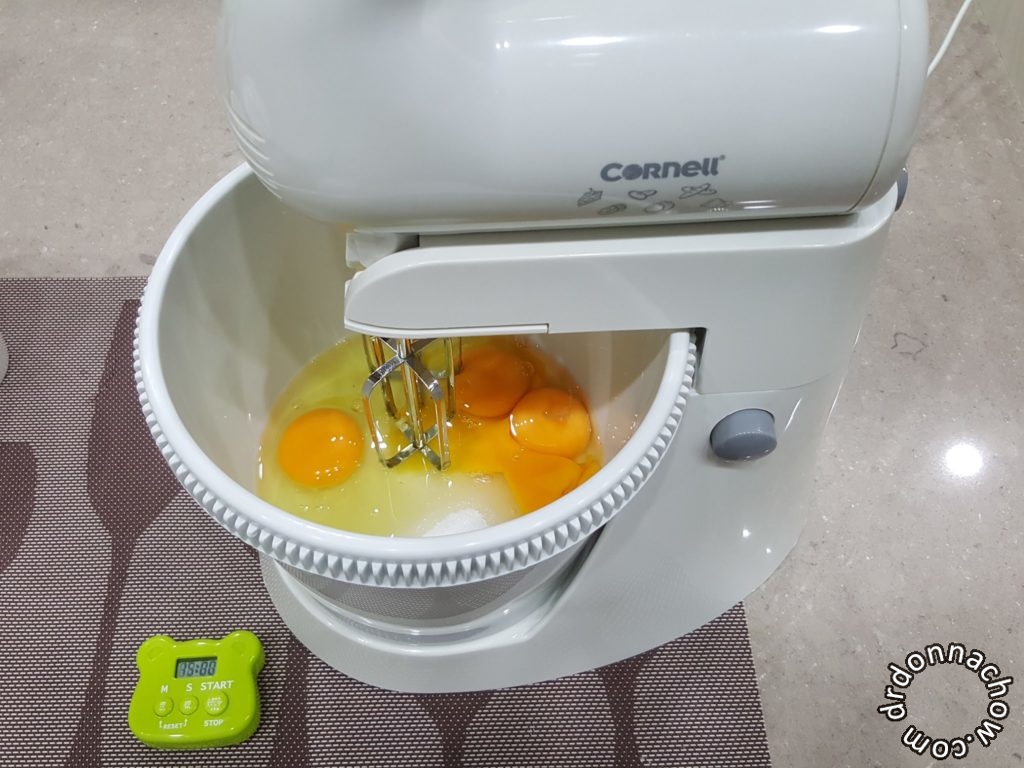
Before beating
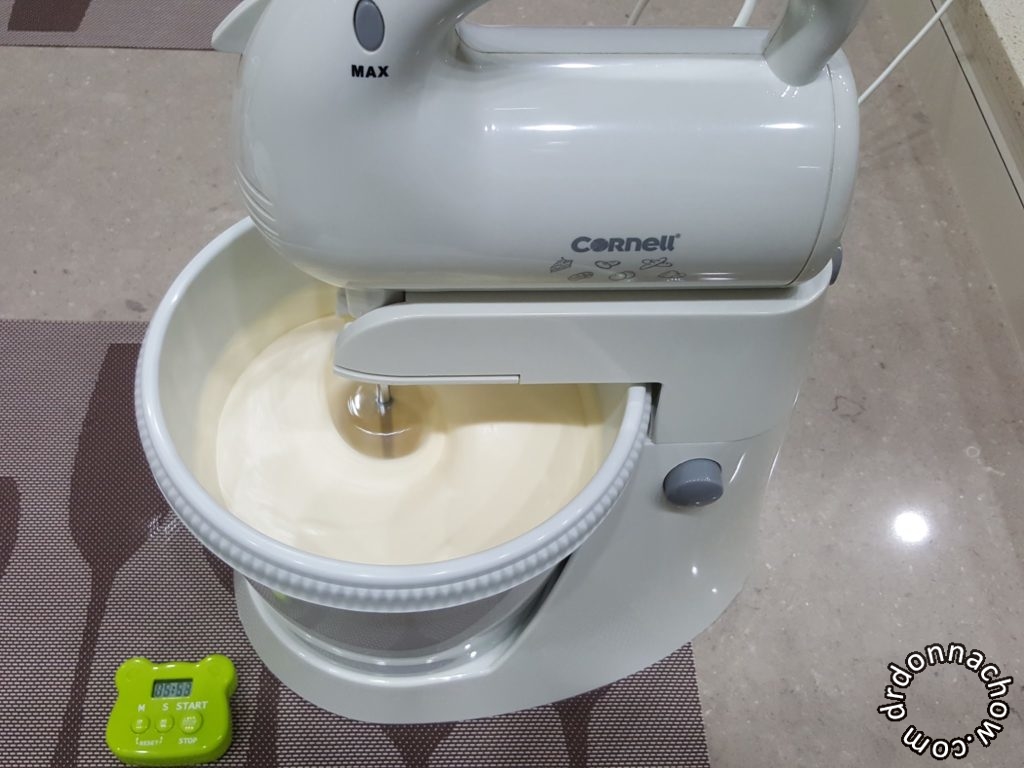
After 15 minutes
Sift the cake flour and add in the flour slowly. Beat on low until the flour is fully incorporated.
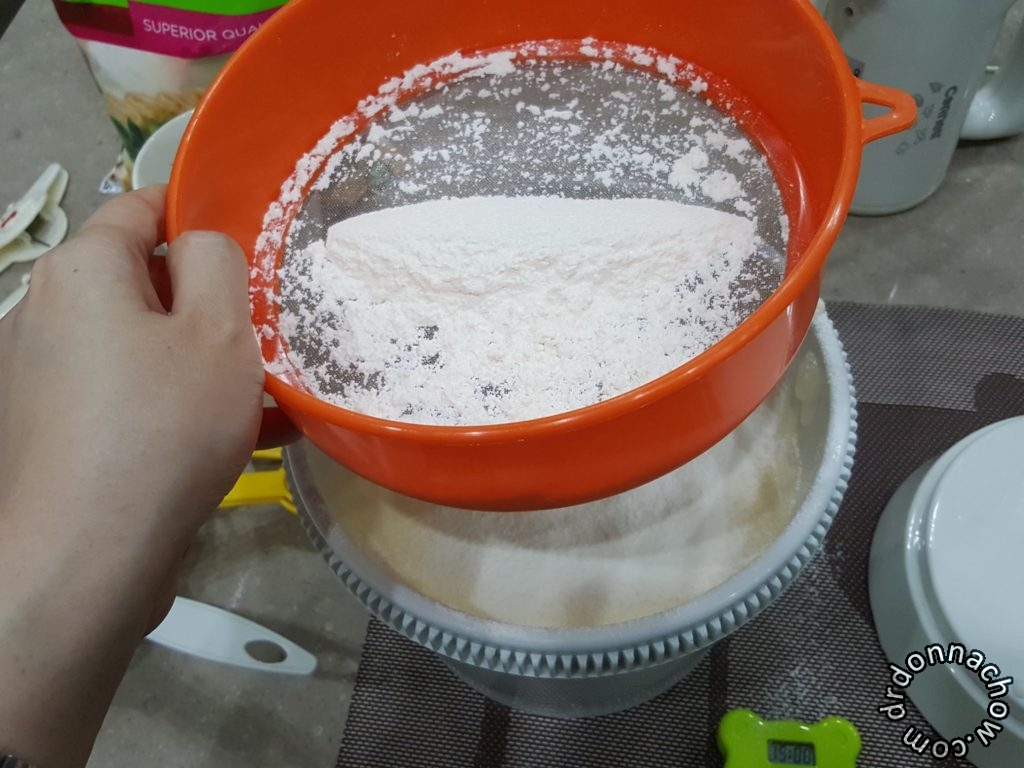
Adding in the flour
Now you can pour the batter into the tins and send them to the oven. Bake for 10 minutes and watch for browning. Do not open the oven midway as it can affect the oven temperature. Once it has browned (approx 10 min for me) I lower the temperature to 150 degrees and continue to bake for another 10 min. It’s ready when it starts to shrivel from the sides.
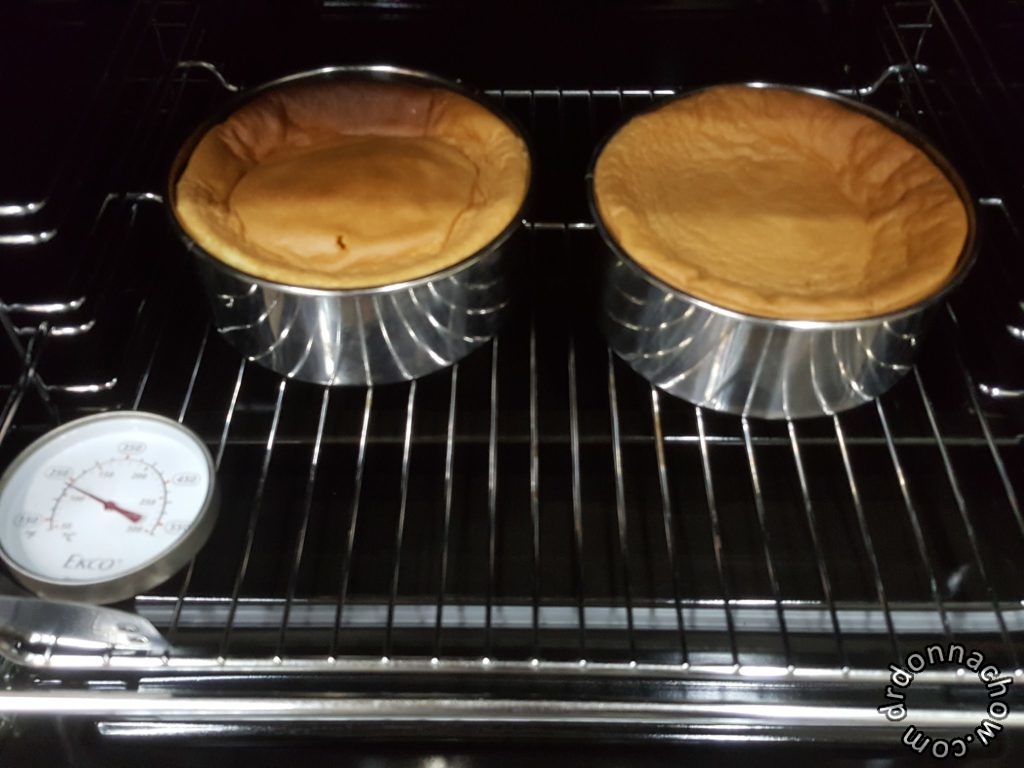
Hot from the oven
Take out the cakes and allow to cool before you invert them out of the tins. Now you have 2 halves of the sponge cake. I let it cool completely while I prepare the green tea buttercream.
For the buttercream, you will need:
- 150 g unsalted butter (softened at room temp)
- 3 cups icing sugar (sifted)
- 1 tsp vanilla extract
- 1-2 tsp green tea powder for baking
- 2 tbsp milk
On a mixer, beat the butter on high until it’s reaches a pale yellow consistency. It should take 8-10 min. Add in the sifted icing sugar a little at a time. Continue to beat on low. When it’s fully mixed, add in vanilla extract and milk. You can test the buttercream by using a spoon. The right consistency should stick to it and not slide off when you invert the spoon.
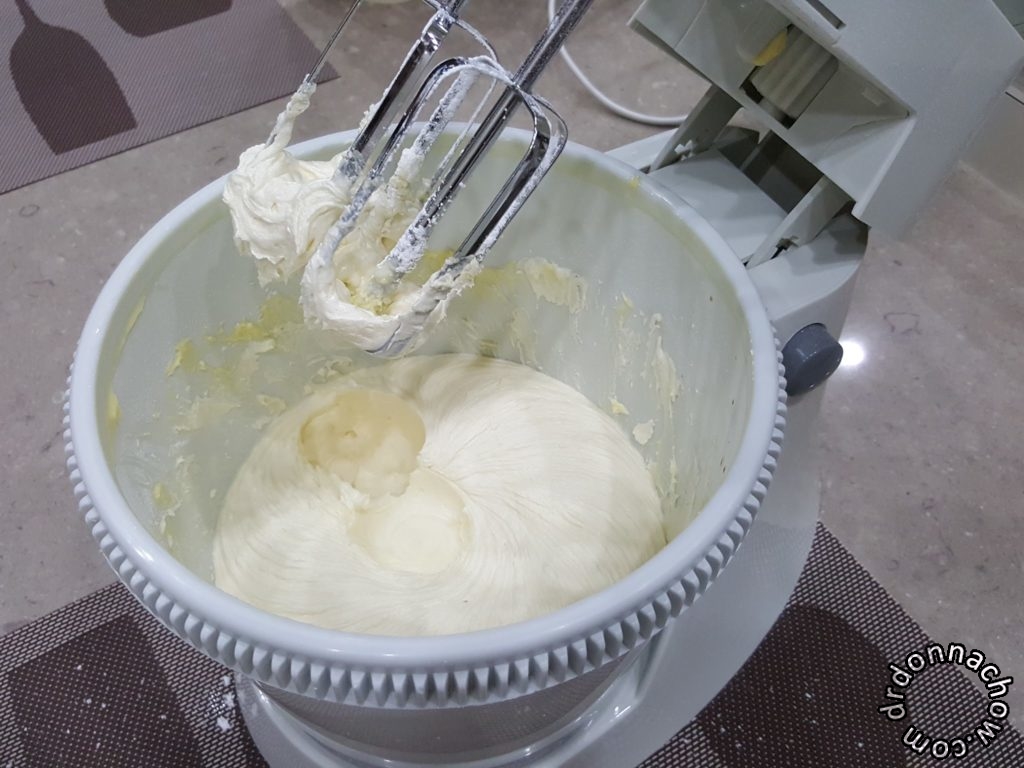
Buttercream ready
I use the buttercream (without green tea) to smooth out any imperfections on the cake and create a base for the icing. You may also spread buttercream in between the 2 halves.
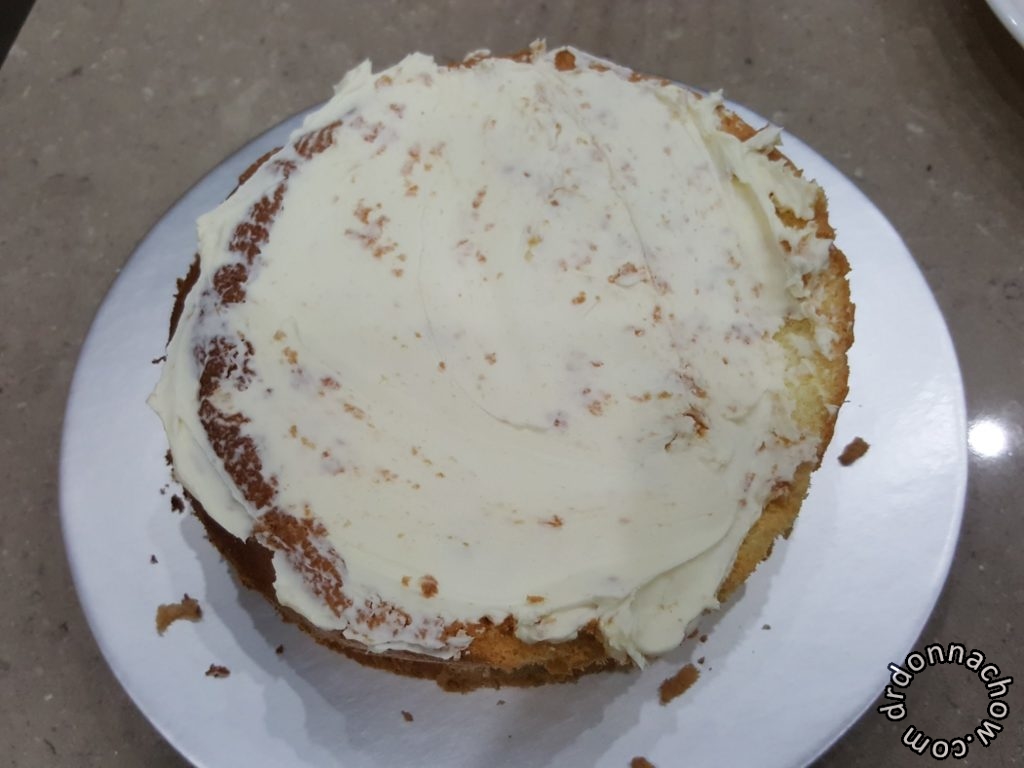
Spreading the filling
When the cake is ready for piping, I mix in the green tea powder to the buttercream and fill my piping bag. The decorating tip I am using to make the rosette is Wilton 1M. To ensure you cover the areas well, you can use a round cookie cutter to make impressions on the cake so that you know where to place your rosettes.
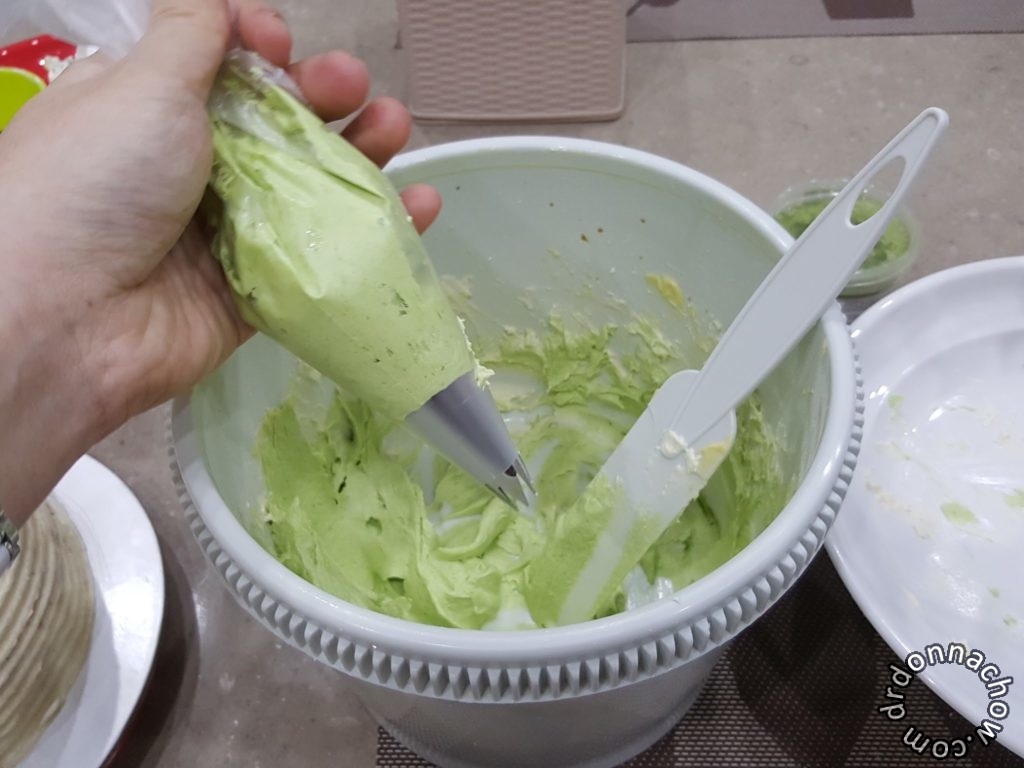
Getting ready for piping
I decorated the sides with green tea powder and small silver balls.
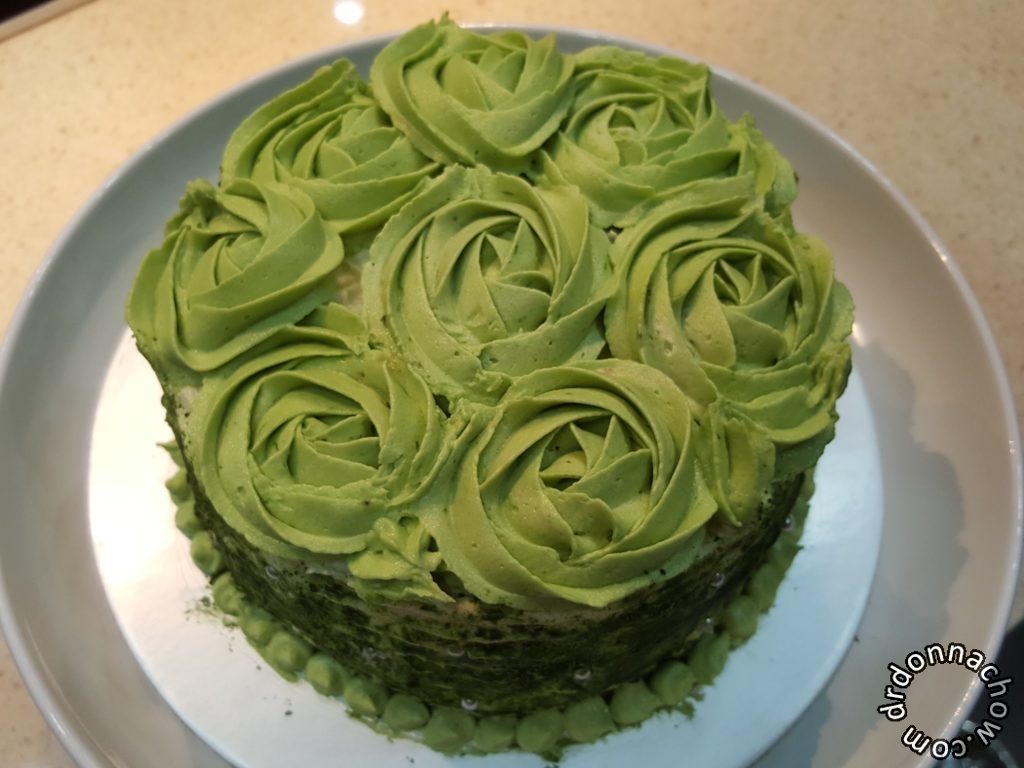
Green tea rosette sponge cake
And it’s done!