Most people have a soft spot for cute little boys donning a big smile and wearing a bow tie. Bow ties are not passe – they are fashionable accessories which will surely catch your attention almost immediately if you wear it the right way. In the medical fraternity, many surgeons, especially the gynaecologists, love bow ties because they don’t come in the way of examining a patient, unlike the way a normal neck-tie would. Unfortunately, most people reserve bow ties for formal events, such as gala events and weddings. It’s time to change the perception of bow ties – really!
Bow ties are only expensive if you buy it off the shelf. A silk bow tie from the much coveted brand Hermes can set you back by $200. And I was told that it was so small that you shouldn’t really wear it… On the other spectrum, you can get very cheap bow ties from Daiso – but the quality isn’t really fantastic. You can also get decent mid range ones from departmental stores but you are only limited to the designs they offer.
I wonder why nobody is custom making them? Until I read about this secondary boy who is doing so for his school project here. It was an exciting business venture for him. I am too, interested in making bow ties! One of my hobby is actually to sew – not complicated stuff like pants and dresses, but simple and quick sewing satisfies me greatly. And sewing a bow tie is one of those. It can be done on scraps of leftover fabric from other projects. Or you can make one from a piece of old clothing which you have outgrown or have no use for, and make it into a commemorative bow-tie to keep for years to come.
Here is how I make my simple bow tie:
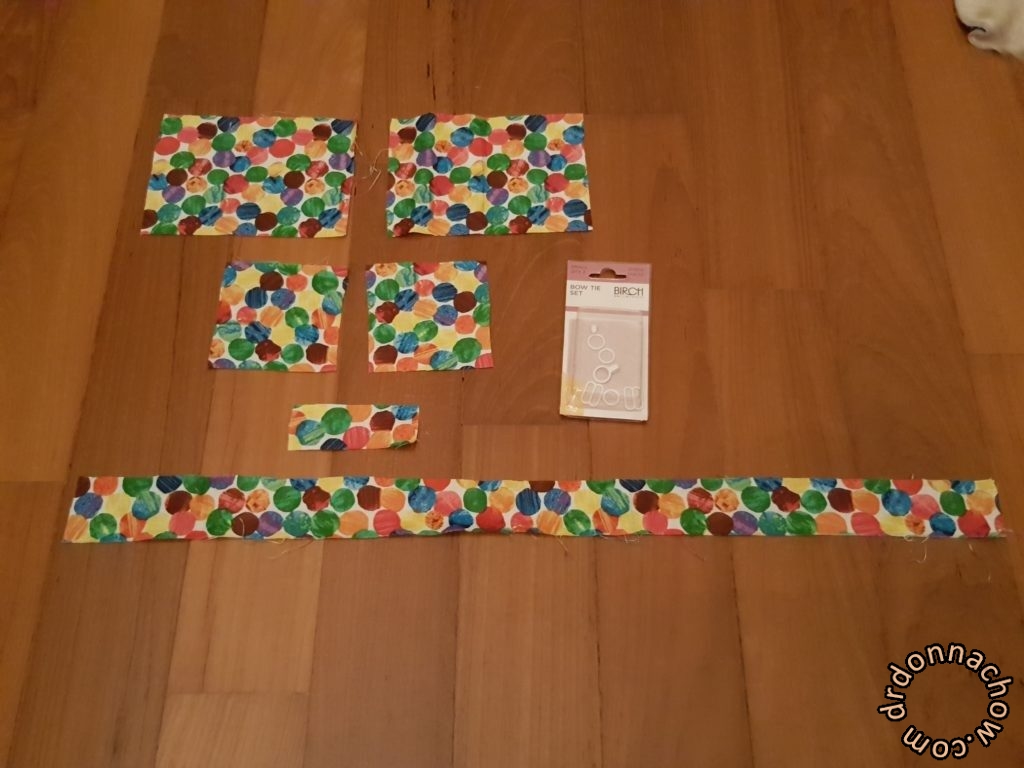
The cut out fabric
You will need :
- 2 pieces of rectangles – 13 x 9 cm
- 2 pieces of squares – 8 x 8 cm
- 1 piece of rectangle – 2.5 x 7 cm
- 1 piece of long rectangle – 2.5 x 50 cm
- Hooks and fasteners for a bow tie (I bought mine from Spotlight) – you can recycle S hooks from a removable bra strap too.
Fold the longest piece of fabric into half and machine sew a straight line, like the photo below.
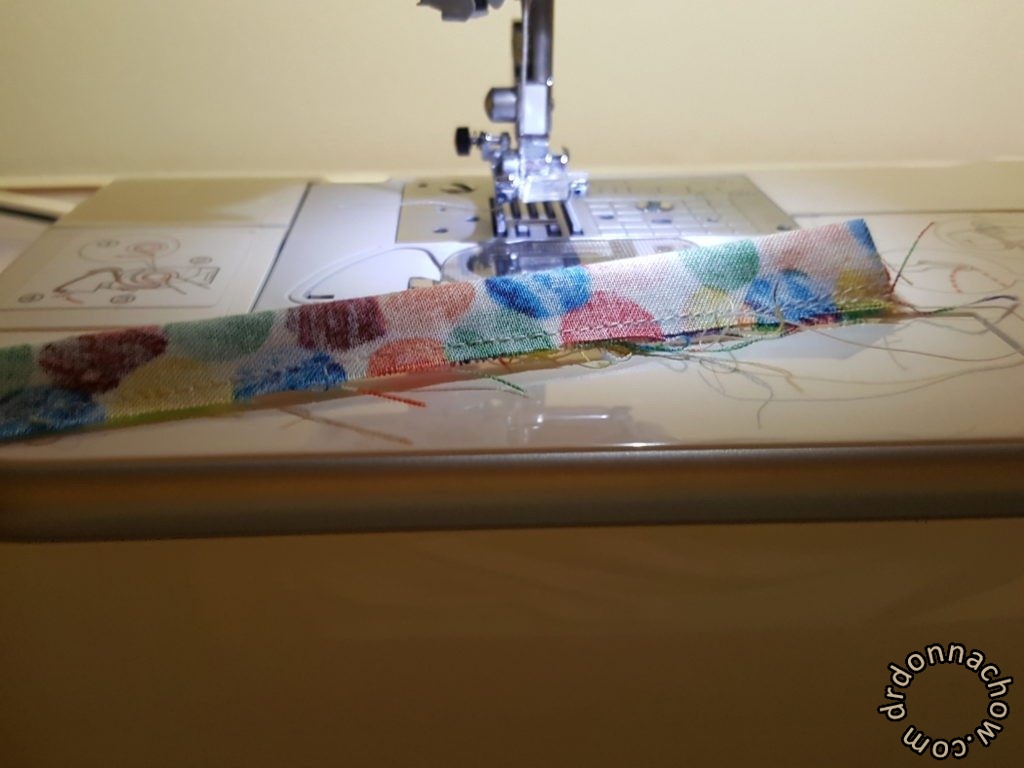
Sewing the tube
It took me a while to figure out how to reverse the tube the right way. The trick to do this is actually a safety pin.
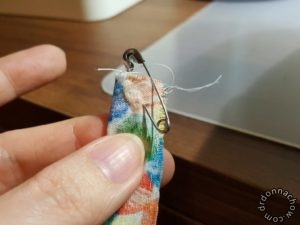
The trick of creating a tube
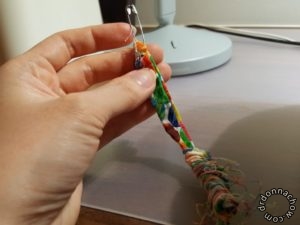
Pull out the safety pin through the other end
After you have completed the tube, machine sew the two pairs of rectangles with the wrong way facing up, leaving a small gap in the centre so that you can reverse the fabric. The reason for leaving the gap in the centre is so that when you hand sew this area and cover this part with fabric and the stitches will not be much noticeable on the finished product.
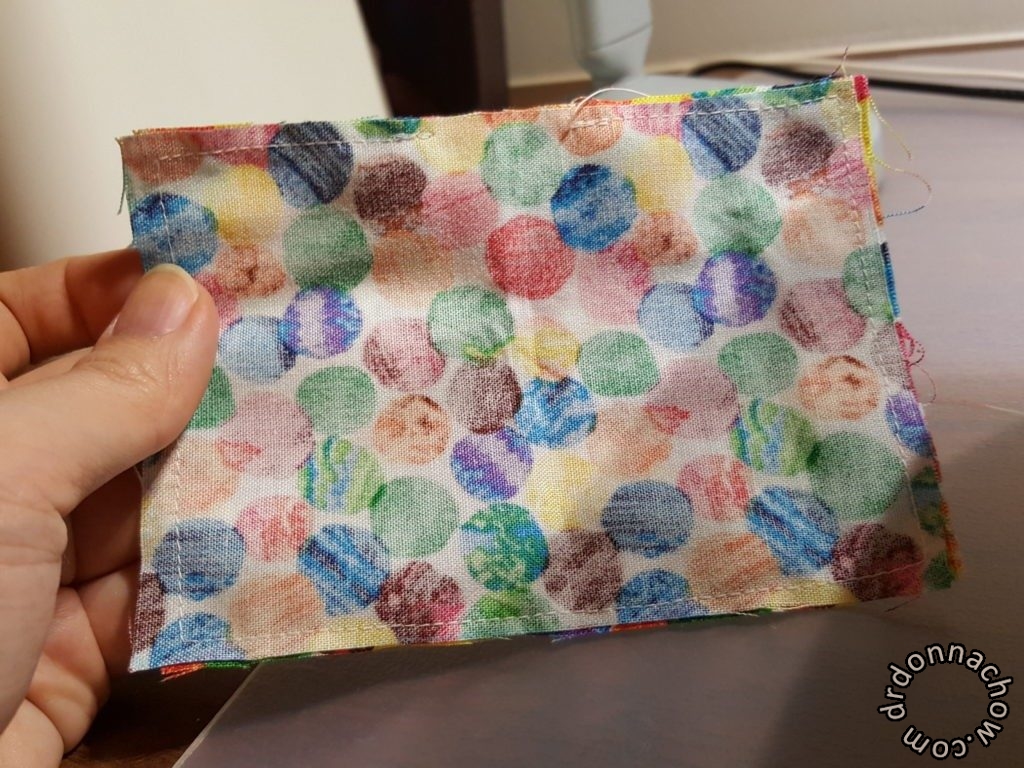
See the gap in the centre
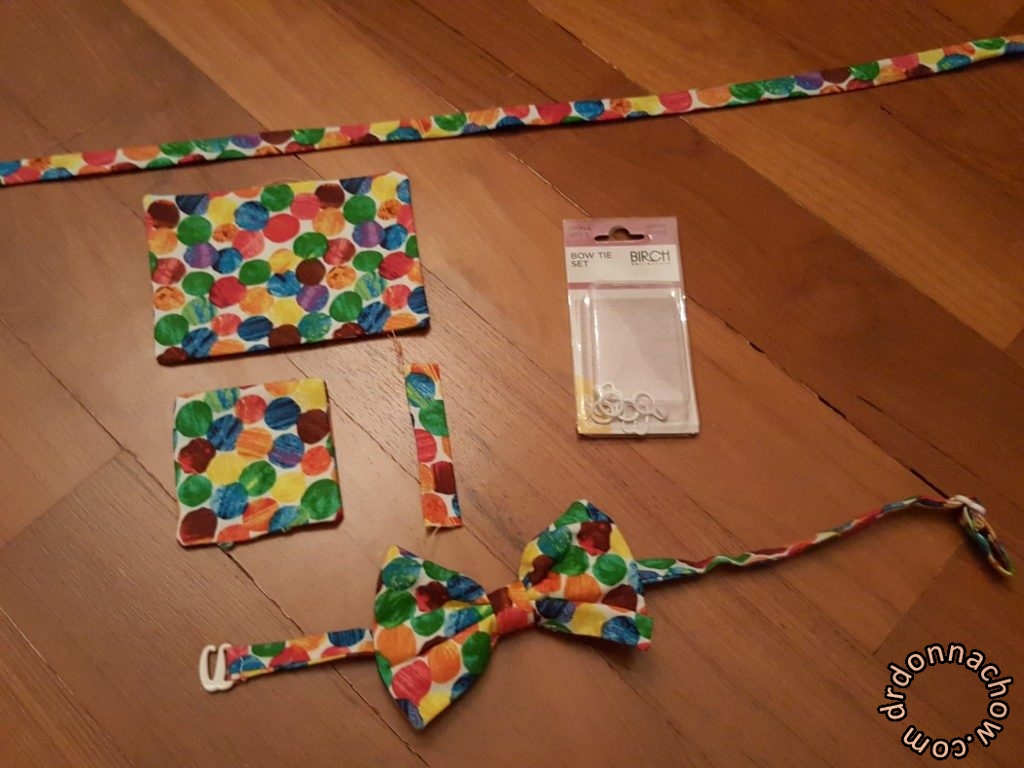
All the pieces sewn and ready to be assembled
When you have finished sewing the pieces, press them firmly under a hot iron to press out any creases in the fabric.
The bottom piece is a completed bow tie which uses the similar S hook from a removable bra strap. If you are not able to get a formal bow-tie hooks and fasteners, the S hook works just as well.
Next, use the two pieces of rectangles to create a fan shape pattern. The smaller piece is inserted below to create more volume and to better retain the shape of the bow. Finish the bow with a center piece of fabric to hide the stitches as mentioned earlier.
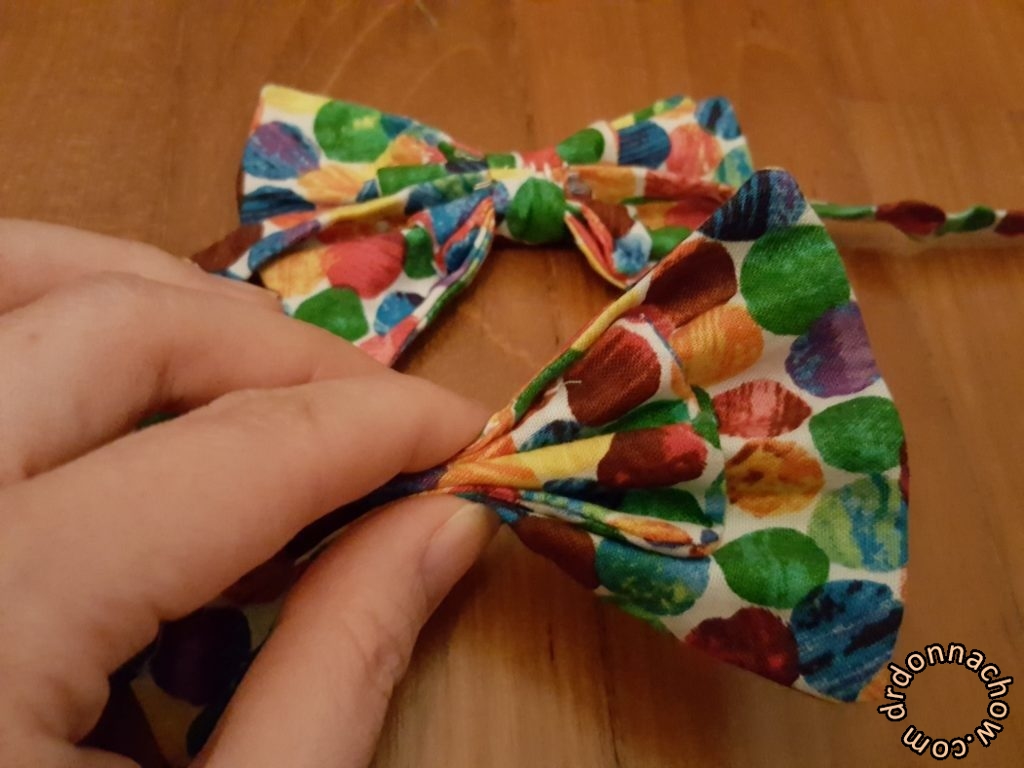
Assembling the bow
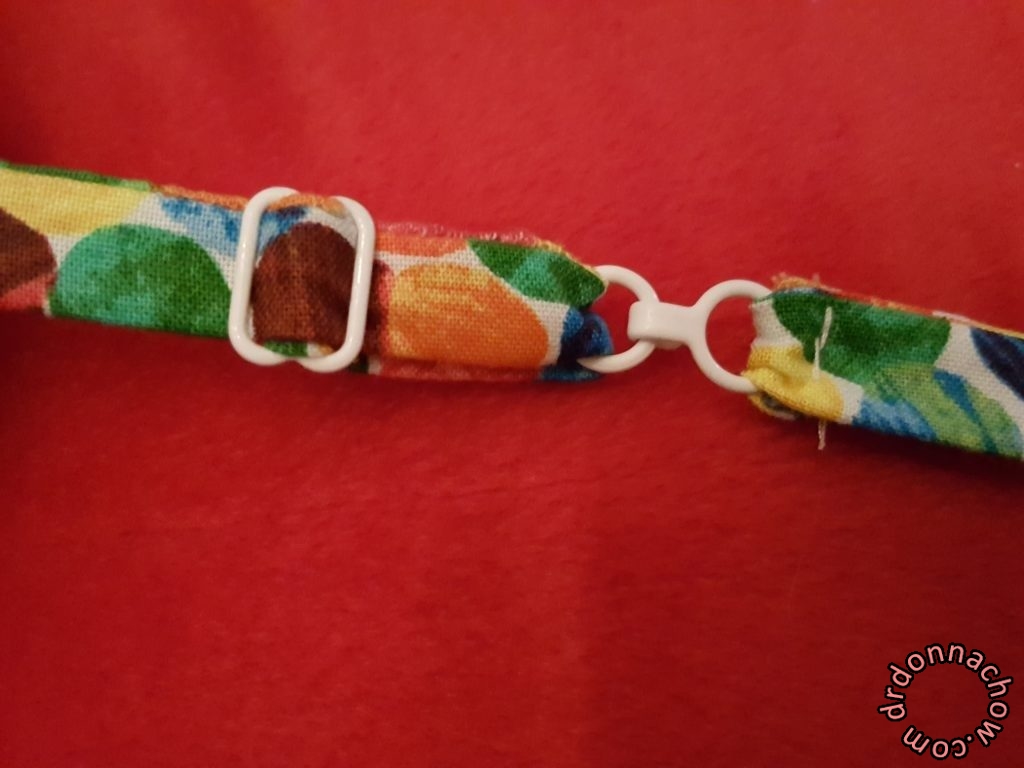
This is how the bow tie fastener work
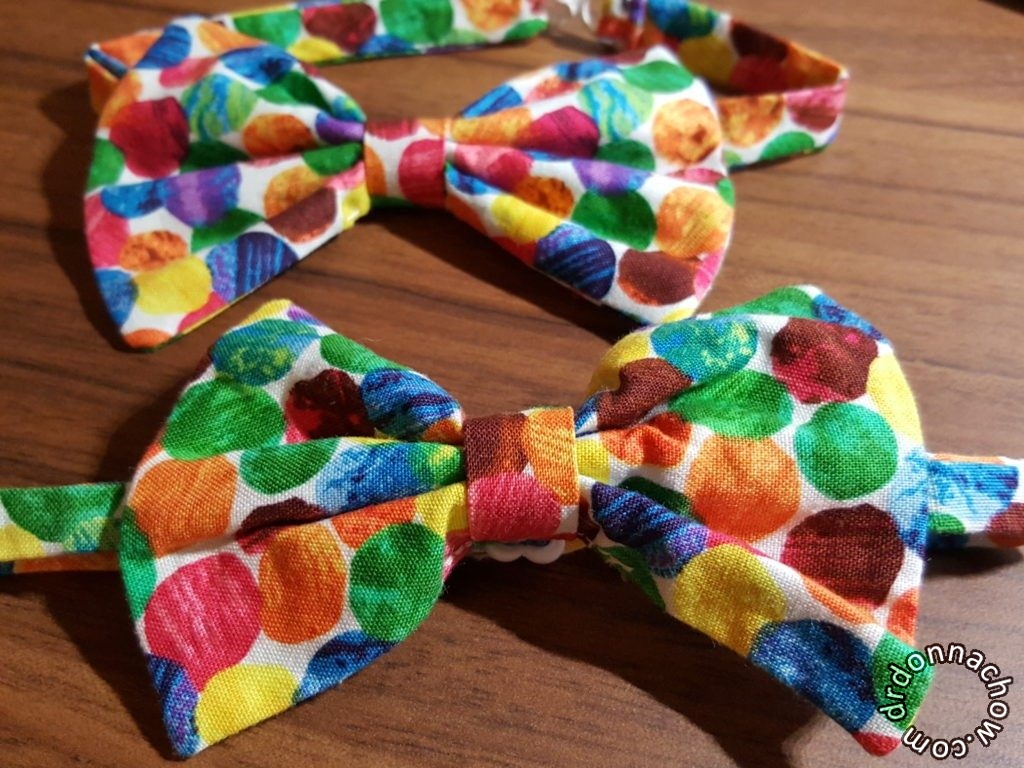
A set of completed bow ties
The colourful print will look very striking on any outfit. I have used it for my 1 year old cake smash photo.
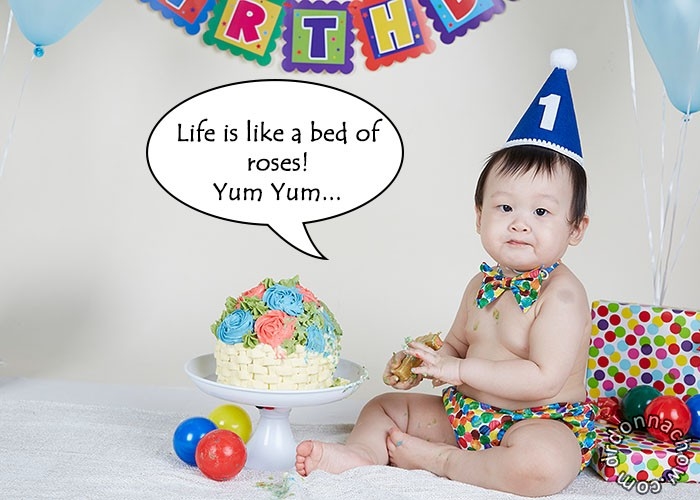
Cute baby thoughts
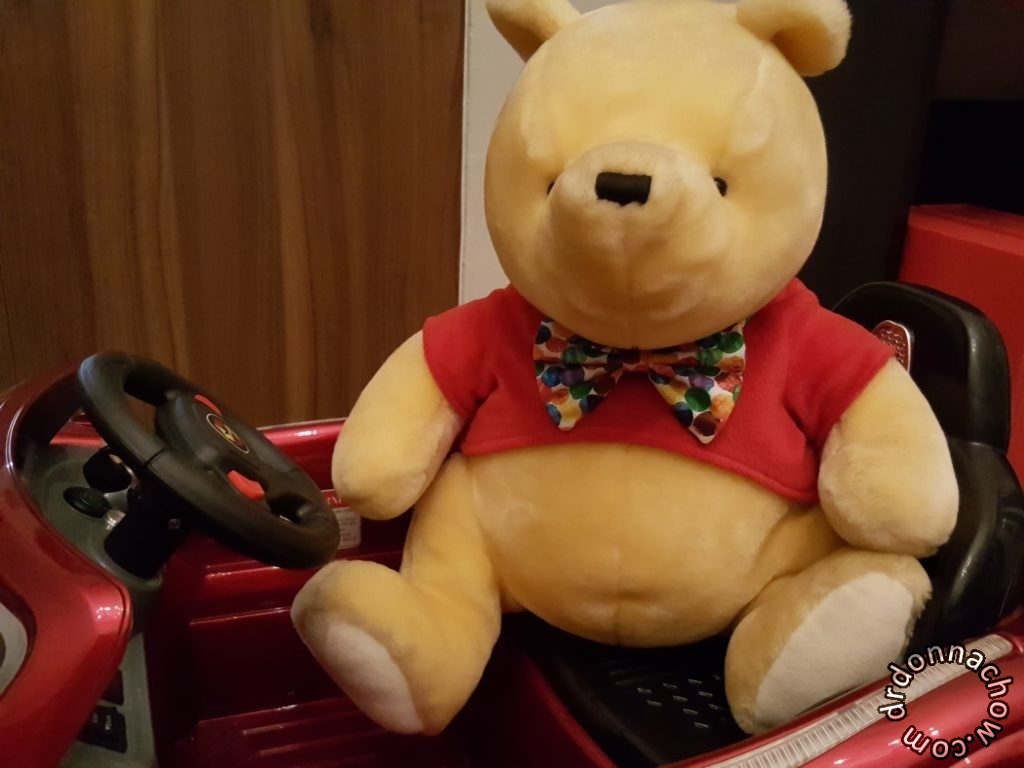
It looks good on Pooh Bear as well
Other ideas to consider:
If you make the strap a little longer – increase to 65 cm instead of 50 cm, you could use the bow tie as a decorative head band for ladies. You can also adjust the size of the bow by increasing or reducing the dimensions above.
Make matching bow ties for your children and your dogs. I think they will look great in them.
I hope you have enjoyed my tutorial on how to sew a bow tie.
