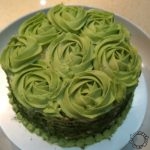
Time really flies. Just last year, I have been busy organising a one year old birthday party for my boy. I still recall with vivid memories of me spending many late nights trying to create his giant rosette cupcake for his one year old cake smash. But as you may have known, buttercream cakes aren’t the most healthy option for children – and adults alike. And to save myself the trouble of the hassle of whipping up more buttercream, I have decided I am not going to do any cream cakes for this year.
Fondant cakes are my other alternative. They are like pieces of art and cost quite a bit to order one from the bakery. But let’s face it – fondant cakes are not very practical food. Anyone who has eaten fondant cakes would have known that they are laden with sugar and taste as hard as rubber. Even though it is a once a year affair, it makes me feel guilty feeding fondant to my child. I know I can always throw away the fondant after photo-taking – but it’s a pure waste of money and effort right?
It was then I chanced upon an attractive looking doraemon chiffon cake being shared on Facebook. And I learnt out much later that it was the creation of Susanne Ng – a chiffon cake baker and decorator. I am much thrilled by how she can create such adorable designs using chiffon cake. And I was an eager student; so I jumped at the chance when I saw that she was conducting baking classes on the eastern side of Singapore.
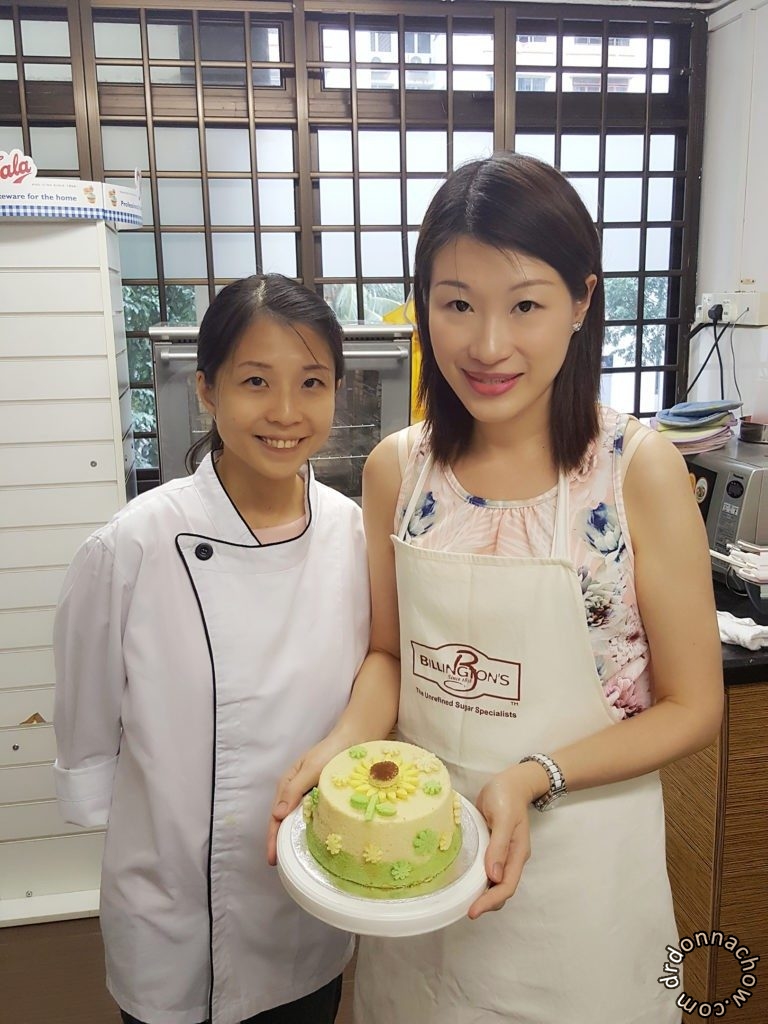
Me attending a class by Susanne
Based on her chiffon cake recipes, I experimented at home and decided to bake a rainbow chiffon cake for my two year old photoshoot on his birthday.
Generally, chiffon cakes have less sugar, are easily digestible and are popular with the young and old.
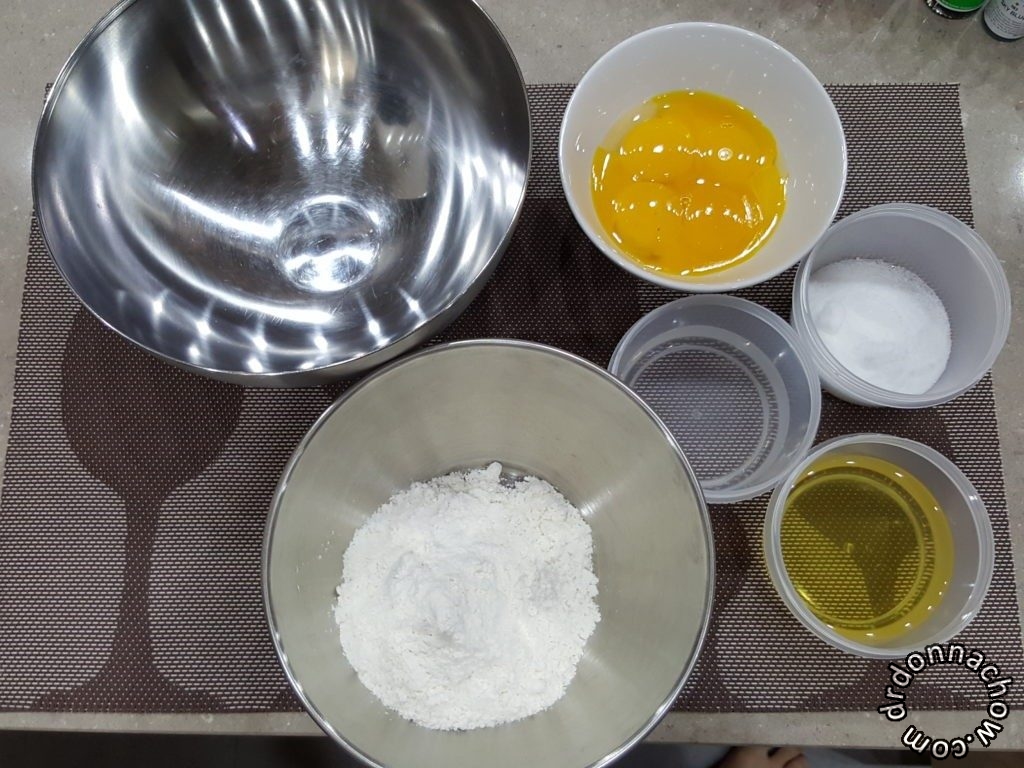
The ingredients for the batter
For the batter: you need 5 fresh egg yolks (65 g eggs), 33 g sugar, 65 g oil, 70 g water, 100 g cake flour (sifted), 1.5 tsp vanilla and a pinch of salt.
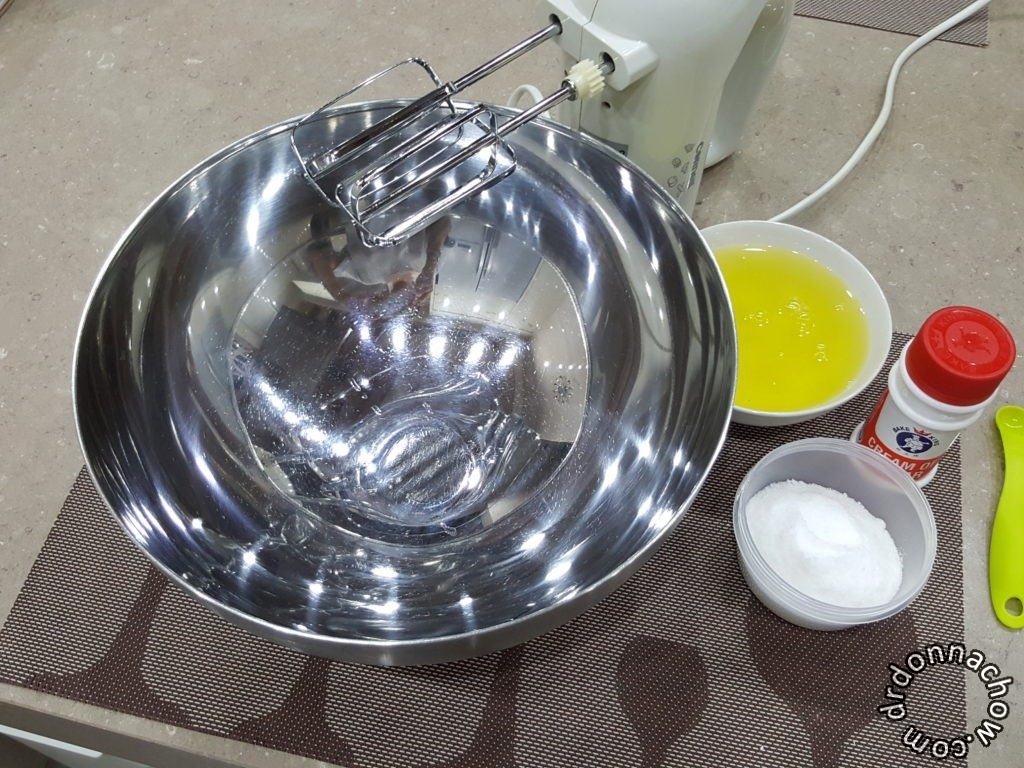
The ingredients for the meringue
For the meringue: you need 7 egg whites, 1/4 tsp cream of tartar and 75 g sugar.
I have learnt from Susanne that it crucial to use the freshest eggs you can find and equally important to measure your ingredients on an electronic scale. In the past, I was contented enough to use an analogue weighing scale – it wasn’t very precise.
I started by pre-heating my oven to 160 degrees celsius and placed in an oven thermometer to ensure the accuracy of the temperature.
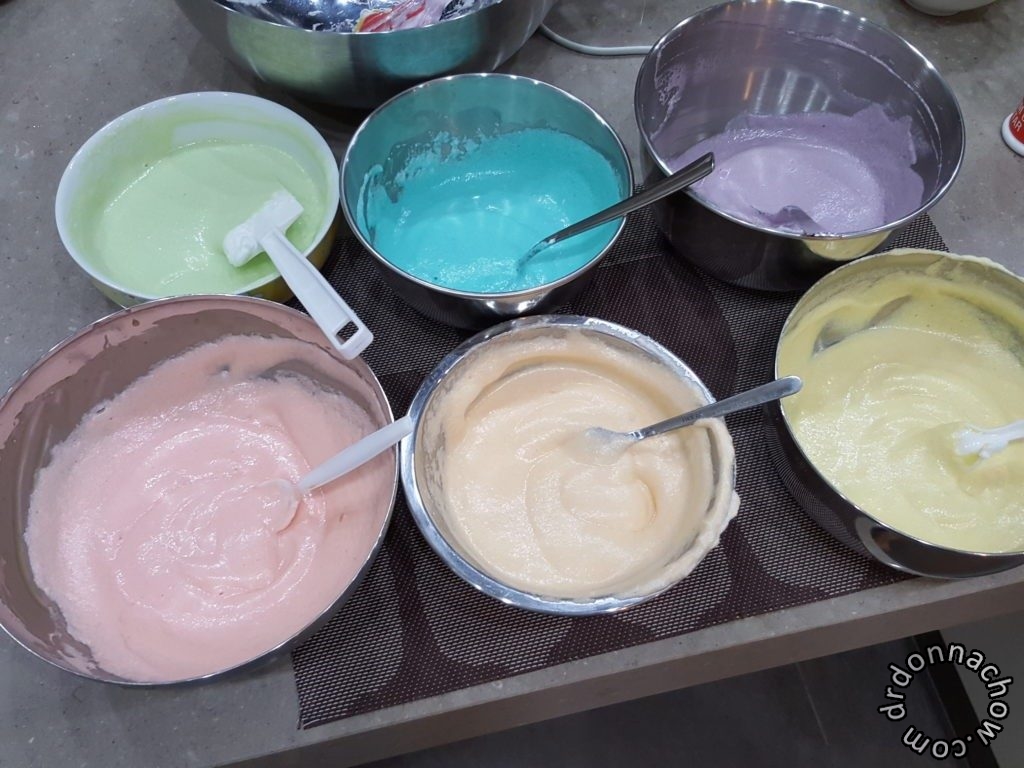
Then I mixed the wet ingredients in the batter and added the sifted flour in two parts. I spooned the batter equally into 6 metal bowls and added the colouring into each one. It took me a while to get the correct colour for each one.
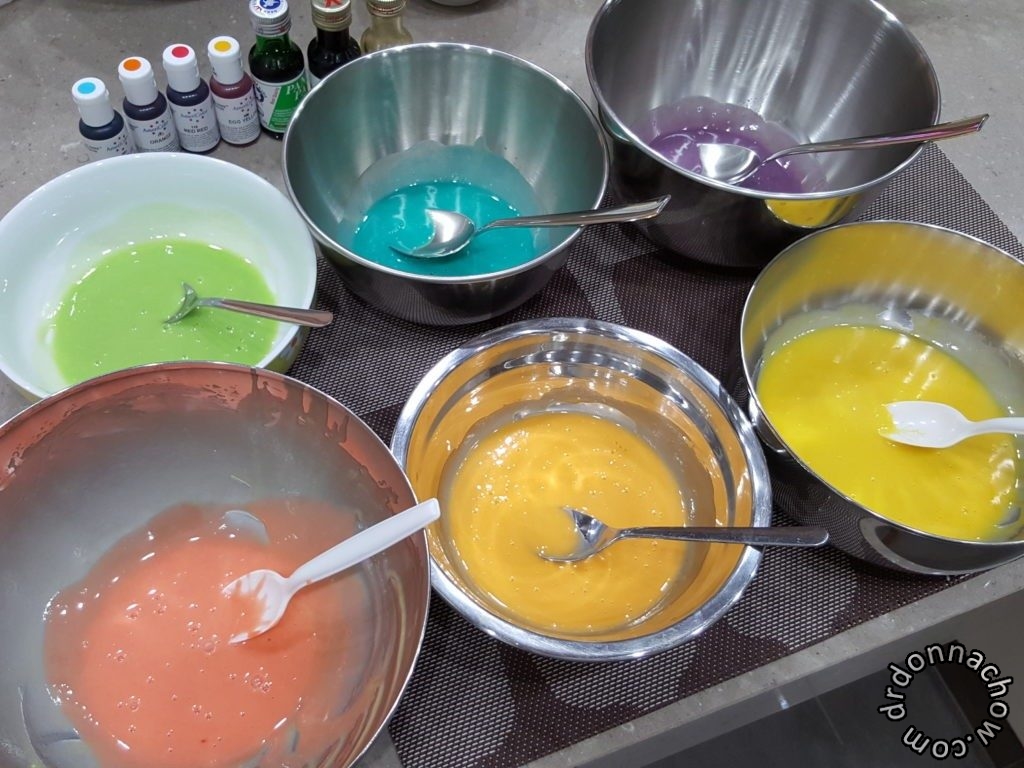
The coloured batter
Another lesson I have learnt in class – you can take your own time to prepare the batter but not the meringue. The success of the chiffon cake is much dependent on the quality of your meringue; and hence the freshness of your eggs. Sounds familiar? Hubby joked that it was a no-brainer – same goes for woman with her ageing eggs. How dare he!
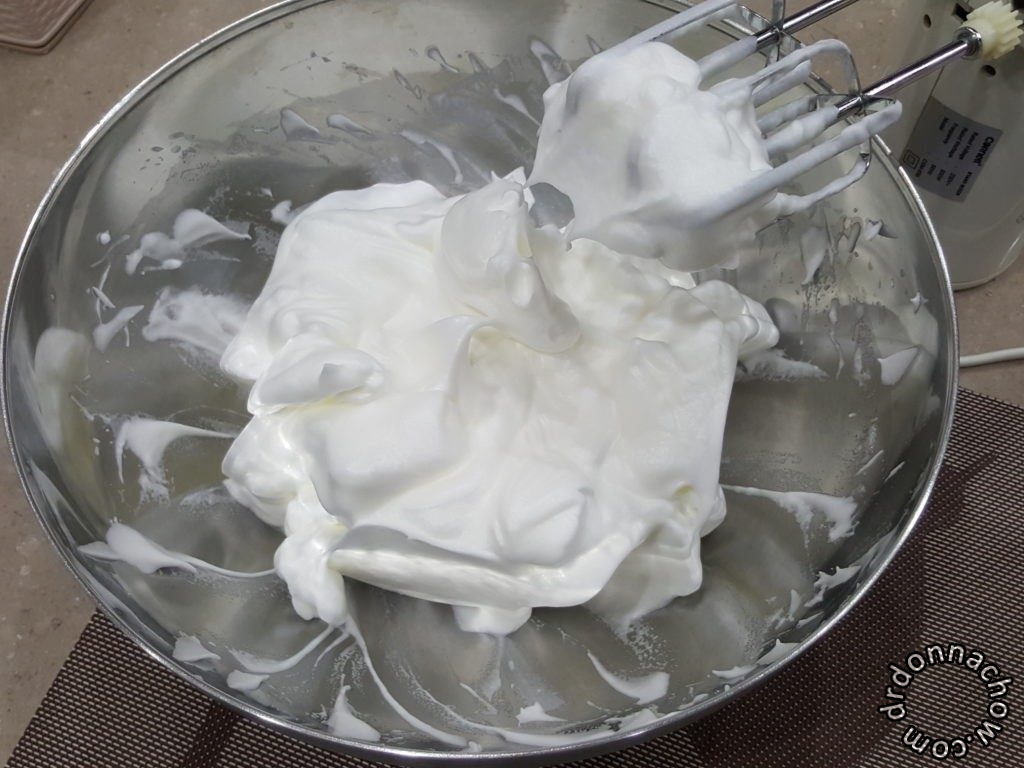
Beating the meringue
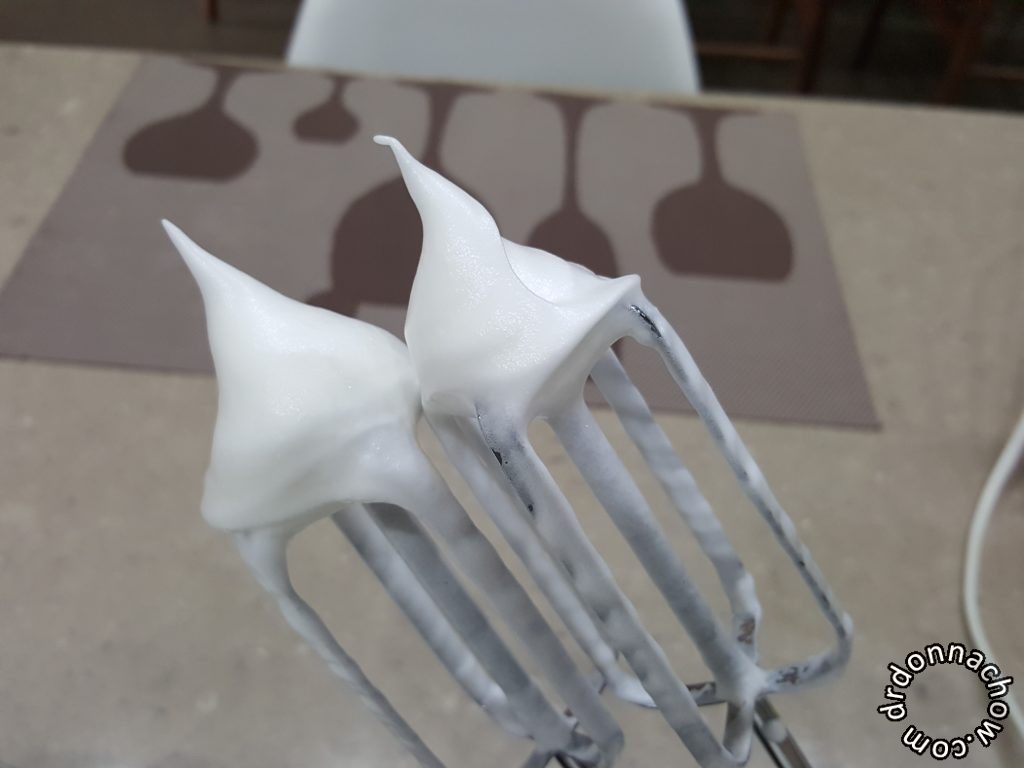
The firm peaks that a meringue should have
It took me several failures before I finally arrived at the correct consistency. Personally, I find that it is more effective to use a electronic hand whisk and keep moving through the different layers so that all the spots get thoroughly mixed.
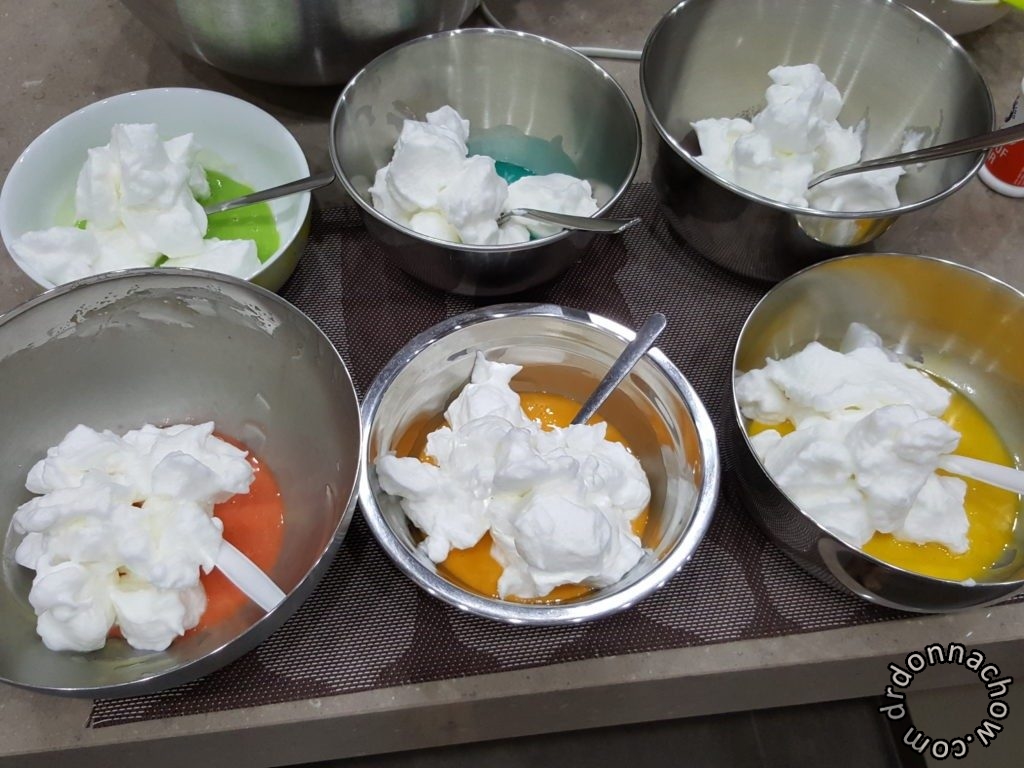
Folding in the meringue into the batter
The folded meringue-batter
On that day, I took too much time to fold in the meringue. Towards the end, I can tell that some of the meringue has changed in its consistency. So if you do have another pair of hands, get someone else to help you so that you can save time.
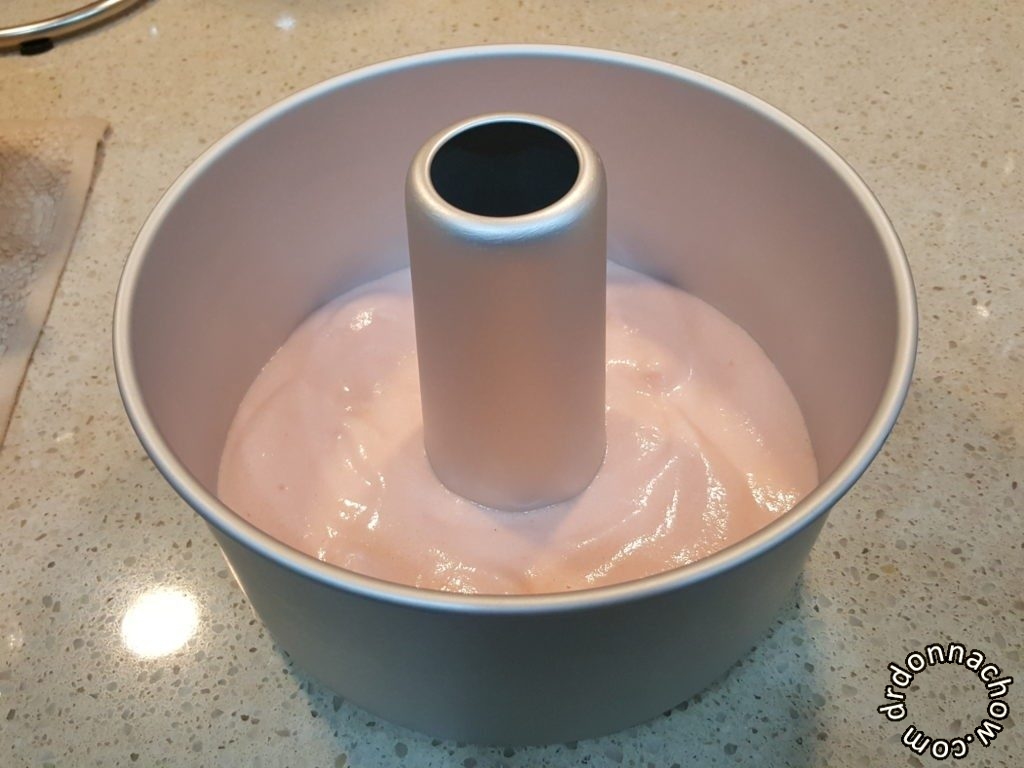
Adding in pink meringue-batter
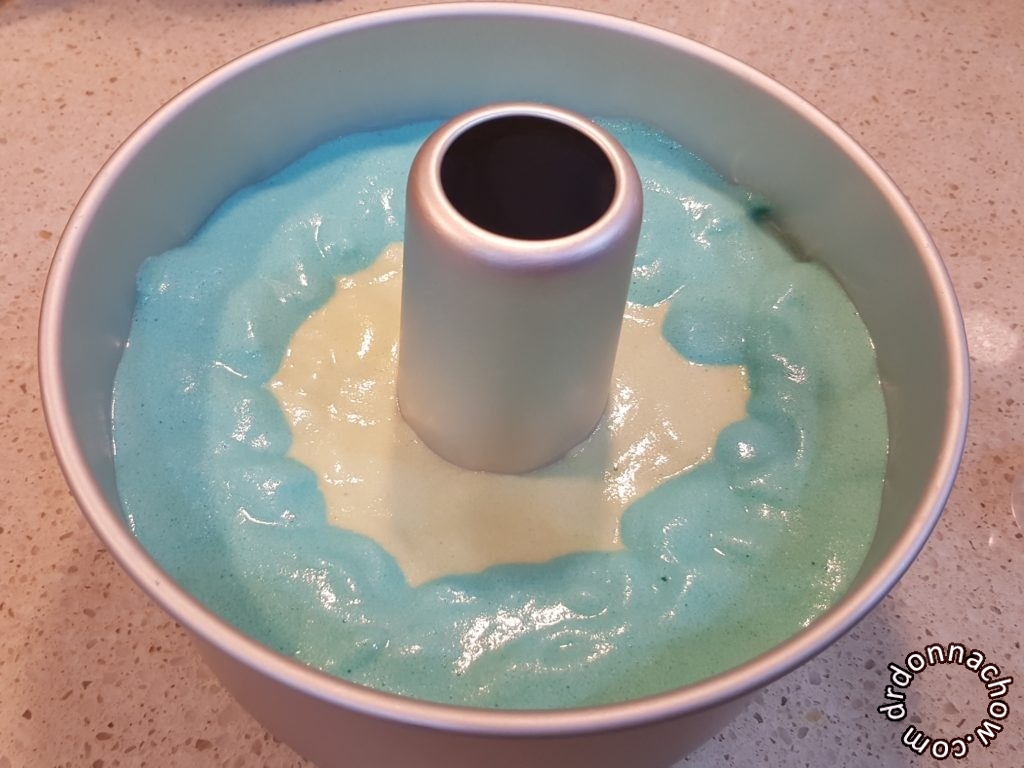
The blue layer
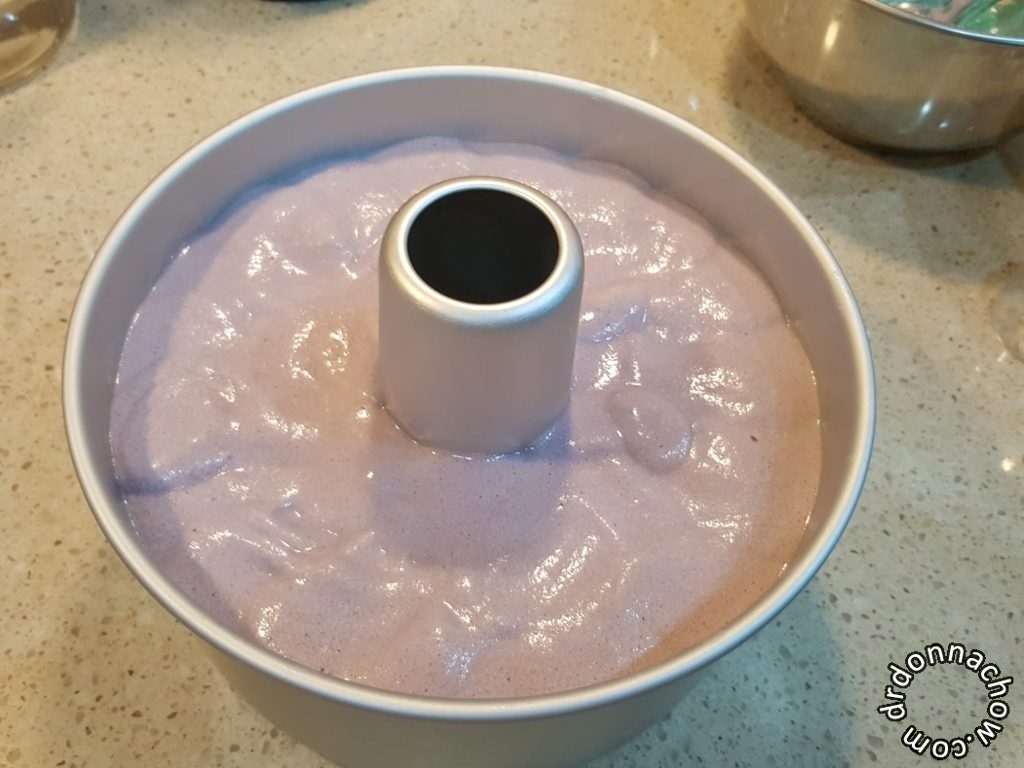
Finally the top purple layer
Chiffon tins need not be greased. The best method is to spoon the mixture into the tin slowly so that you minimise the risk of big ugly bubbles when you pour the mixture. Also, it is imperative to be gentle and avoid tapping the tin too violently in case of collapsing your meringue. Indeed, it takes a lot of time and patience to bake one chiffon cake.
The cake is baked at 160 degrees for 45-50 minutes. After that, invert it on a baking rack to cool completely before un-moulding it by hand. Again, this is a delicate process – best done by a pair of hands with gentle fingers.
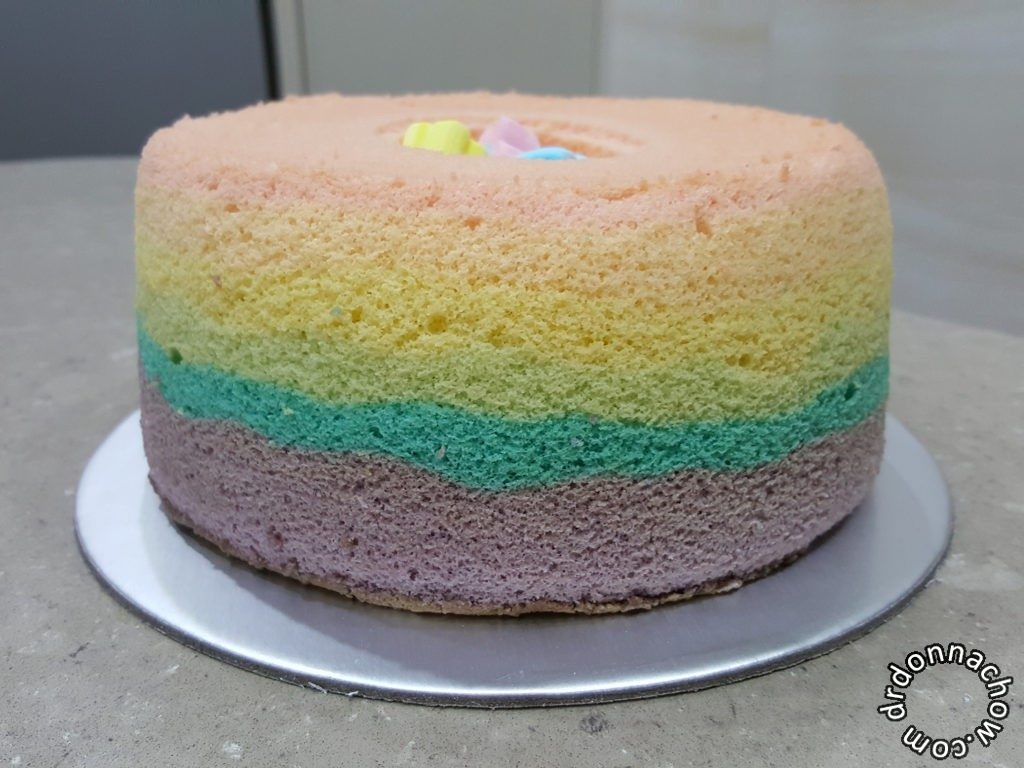
My cake fresh from the oven
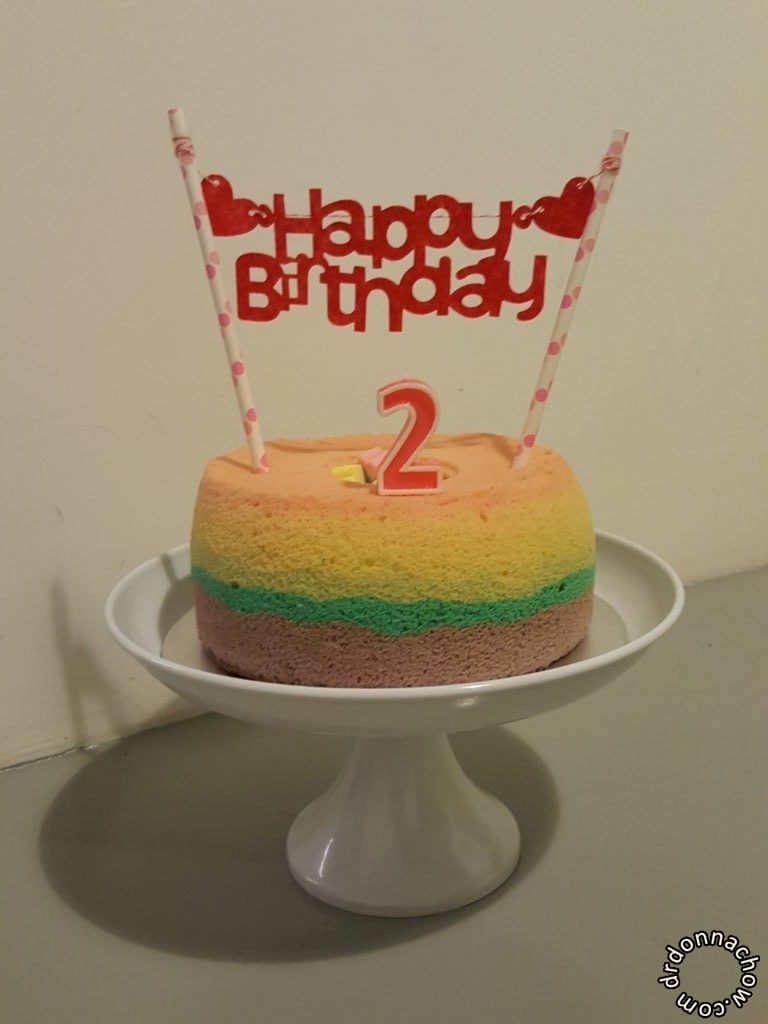
The decorated cake before the photoshoot
I’d say the best part of a chiffon cake, unlike buttercream cake, is that it can be transported easily without fear of it being destroyed. And we brought it to the studio without much fuss.
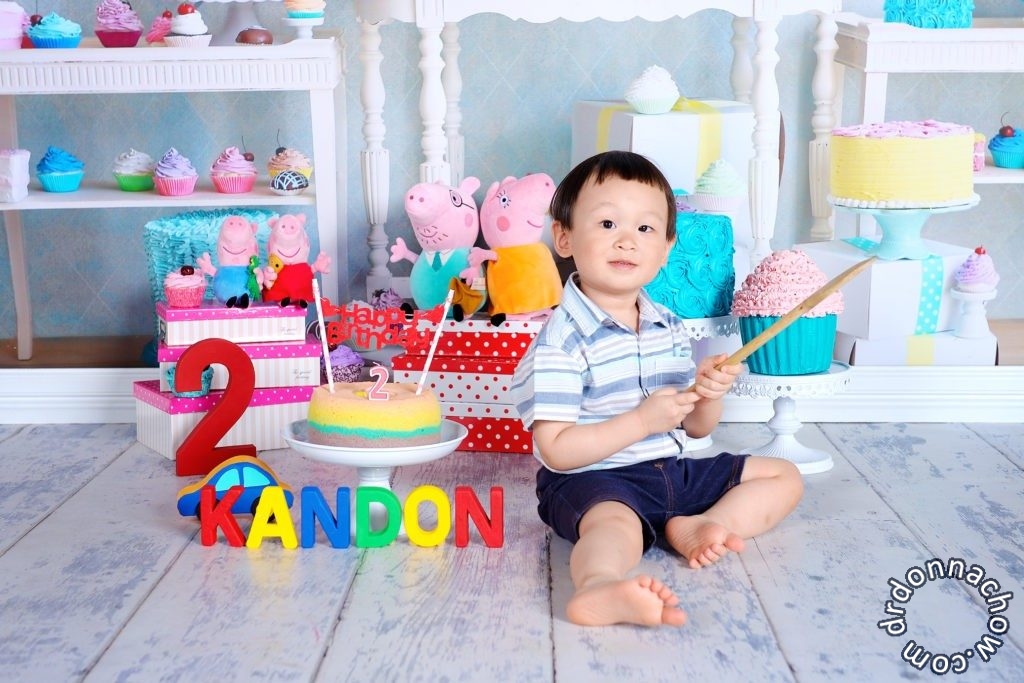
He’s two
There, you see my rainbow chiffon cake standing proudly on the cake stand. It wasn’t perfect, but it was made with love by his own mama 🙂
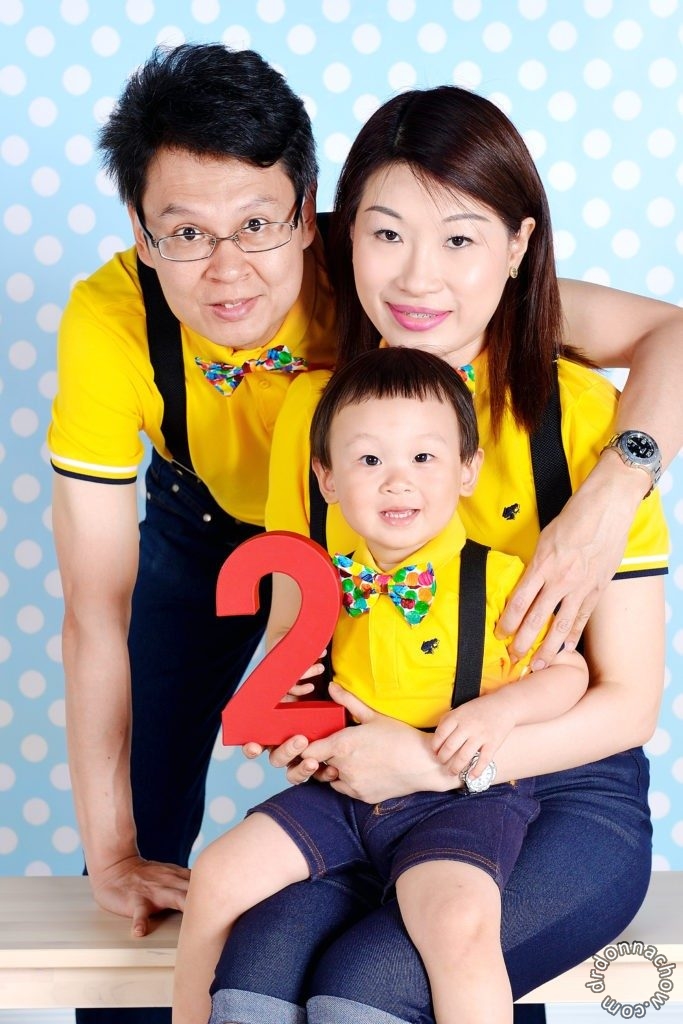
And our hungry catepillar family bow-ties
I wrote a tutorial for making these hungry catepillar bow ties here.
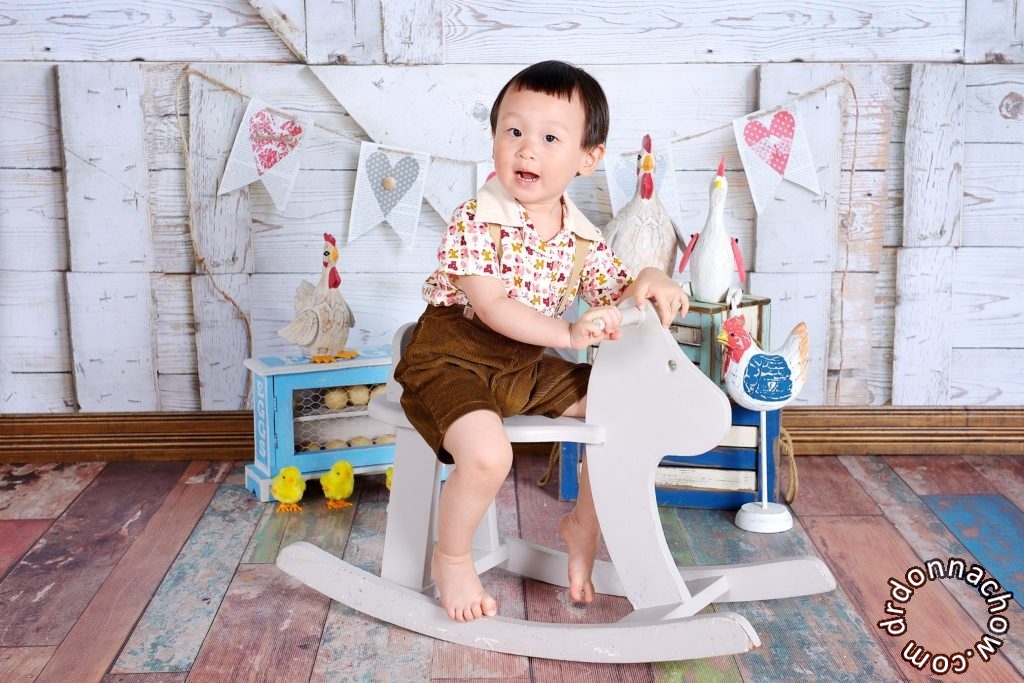
My little prince charming on a horse, wearing clothes made by his mama
Children do grow up at an incredible pace – don’t they?


